In short: Linux server hardening means making the default settings of a freshly installed Linux server secure so that its attack surface shrinks. The first 10 steps on a new VPS are: update the system, enable automatic security updates, create a separate sudo user, switch to SSH keys, disable root and password logins, turn on the firewall, install Fail2ban, close unneeded services, set up backups and start monitoring.
A new server exposed to the internet soon receives automated SSH and password-guessing attempts. They are not aimed at you personally; every IP address on the internet is scanned regularly. That is why hardening is not something to "look at once the site is live" but a routine for the very first day you log in. The commands below are for Ubuntu and Debian; on other distributions the package manager and service names differ, but the logic is the same.
Default installations are built for convenience, not security: root login with a password may be allowed, the firewall may be off and services you do not need may be listening. Changing these settings after applications, databases and customer data have moved in is riskier and more work. Hardening on day one gives every later installation a secure foundation.
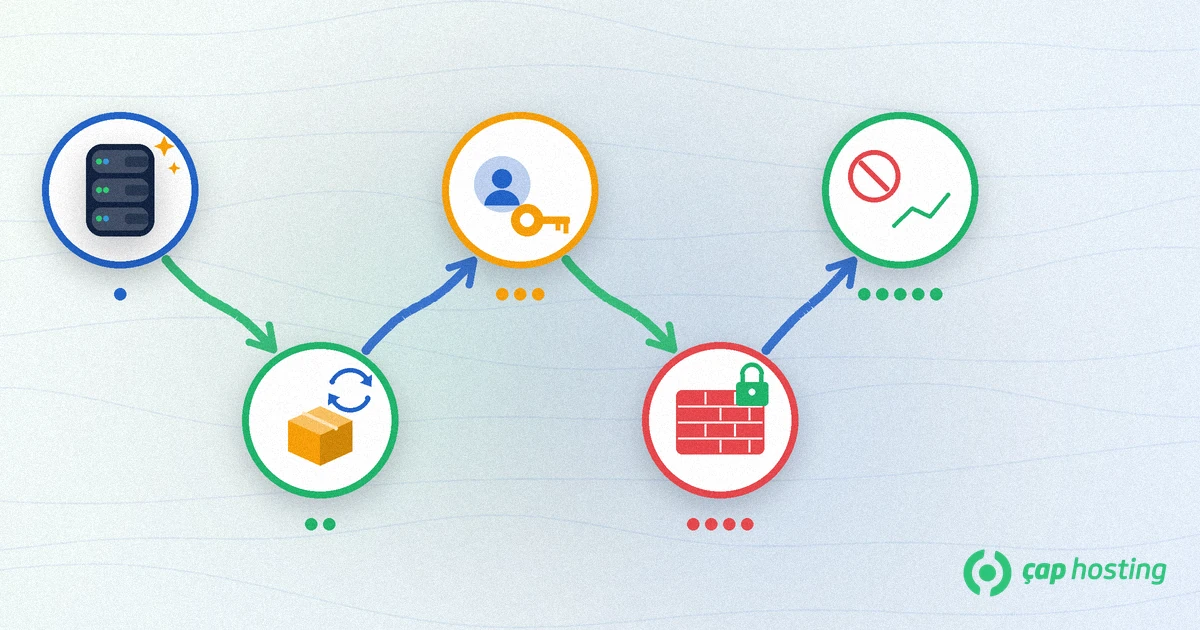
The goal of hardening is not to make a server "unbreakable" but to make an attacker's job harder, spot mistakes early and recover quickly when something goes wrong. The steps below therefore serve three purposes: narrowing access (user, SSH key, firewall), shrinking the attack surface (updates and unneeded services) and gaining visibility (backups, logs and monitoring).
Start by installing the security patches released since the image was built: sudo apt update && sudo apt upgrade. If the kernel was updated, the file /var/run/reboot-required appears; reboot the server in that case.
On Ubuntu the unattended-upgrades package is installed by default and applies security updates automatically once a day. If it is missing, install it with sudo apt install unattended-upgrades and test the configuration with sudo unattended-upgrade -v --dry-run. See the Ubuntu automatic updates documentation for details.
Use your own account instead of root for daily work: sudo adduser admin1 and sudo usermod -aG sudo admin1. Privileged commands are then logged and the root password is not passed around.
On your own computer, generate a key pair with ssh-keygen -t ed25519 and copy the public key to the server with ssh-copy-id admin1@server-ip. We cover the basics in what is SSH and how to connect to your server.
Set PermitRootLogin no and PasswordAuthentication no in /etc/ssh/sshd_config. On cloud images a file under /etc/ssh/sshd_config.d/ can override this, so check the effective value with sudo sshd -T | grep -i passwordauthentication. Validate the syntax with sudo sshd -t and run sudo systemctl reload ssh. Before closing your current session, always confirm in a new window that key-based login works.
With UFW, deny incoming traffic by default and allow only what you need: sudo ufw default deny incoming, sudo ufw allow OpenSSH, if you run a web server sudo ufw allow 80,443/tcp, then sudo ufw enable. Enabling the firewall before allowing SSH locks you out. For background, read what a firewall is and why it matters for servers.
Install it with sudo apt install fail2ban, add enabled = true to the [sshd] section of /etc/fail2ban/jail.local and restart the service. sudo fail2ban-client status sshd shows the banned IPs. On systems that keep logs only in journald (Debian 12, for example) also add backend = systemd to that section.
sudo ss -tulpn lists every listening port and process. Disable services you do not use with sudo systemctl disable --now service-name. Services that only the server itself needs, such as a database, should listen on 127.0.0.1 and never be exposed to the internet.
Hardening reduces the risk of attack but does not remove it, and a faulty update or a deleted file also means data loss. Keep at least one copy of your backups off the server and test restores regularly. Our guide to the importance of website backups explains a sound strategy.
Check failed logins with journalctl -u ssh --since today and time synchronisation with timedatectl; accurate time is essential for comparing logs. Sudden spikes in CPU, RAM or disk usage are often the first sign of trouble, and you can track them with the methods in how to monitor server resource usage.
sshd -T output)?Make this list the standard for every new server and review it monthly. If you would rather not manage a server at all, with shared web hosting the operating system updates, firewall and server maintenance are the hosting provider's job, so you can focus on your website. Compare the options in our web hosting plans.
For someone familiar with the commands, the 10 steps in this article usually take an hour or two on a new server. The real work is keeping the settings in place and checking them regularly.
Not on its own. A different port reduces log noise from automated scanners, but the real protection comes from SSH keys, disabled password logins, the firewall and Fail2ban.
Not if you have a sudo user and a working SSH key. Before changing the setting, test in a new window that you can log in with that user, and keep your current session open.
Security updates rarely break anything, and the risk of not updating is usually higher. If you run a critical application, you can exclude specific packages from automatic updates.
 Copyright © 2026 All Rights Reserved

 Turkey (Türkçe)
 Worldwide (English)