In short: To create SSH key pairs, generate a private/public key pair on your client and add the public key to ~/.ssh/authorized_keys on the server. Afterwards you log in with the key instead of a password. In OpenSSH the usual command is ssh-keygen; the private key is never copied to the server.
Password SSH logins are open to brute-force attempts. Key-based login is the standard way to harden access after you can already connect with SSH. This guide summarises verified OpenSSH steps.
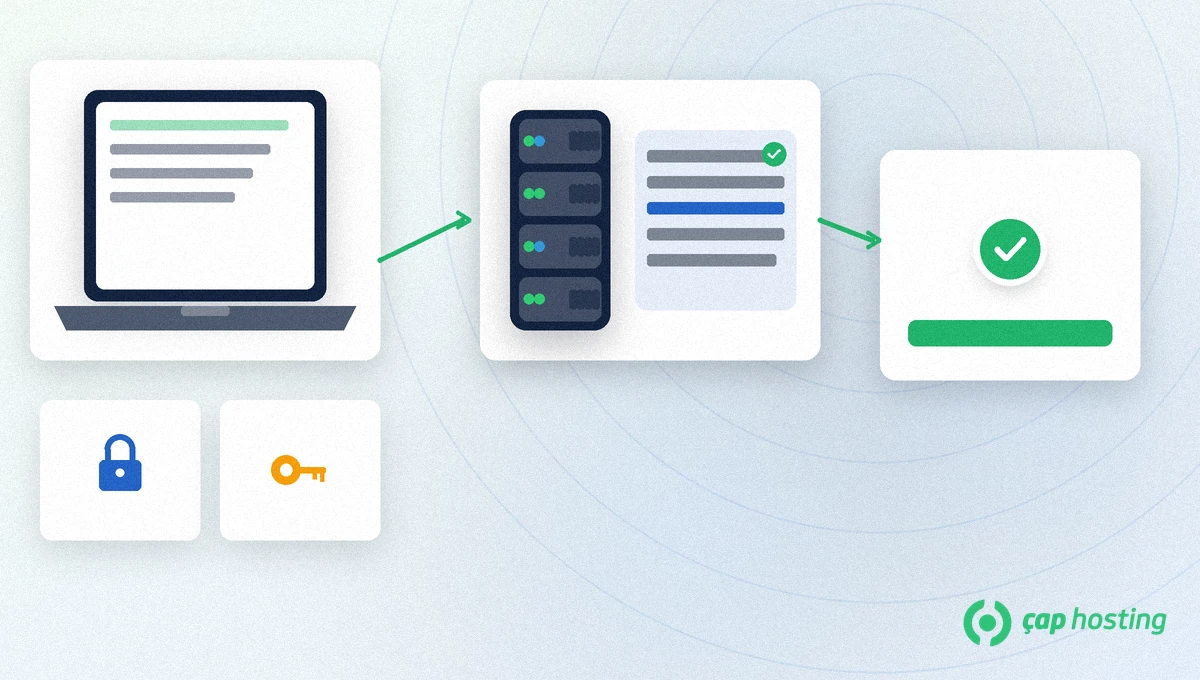
The private key stays only on your computer. The public key is written on the server. At connect time the server sends a challenge; the client signs it with the private key. No password is shared.
~/.ssh/id_ed25519 (or the name you chose) — keep permissions tight (600).~/.ssh/id_ed25519.pub — this is the line added on the server.~/.ssh/authorized_keys.Key-based login is a second control layer independent of password policy. Before you disable password login on the server, always open a second session with the key. Otherwise a single typo can lock you out to the provider console only.
Some panels offer an "add SSH key" form; it writes the same authorized_keys file. The CLI and the panel share that file — avoid duplicate lines.
According to the OpenBSD ssh-keygen(1) manual, Ed25519 is the modern default. On your own computer:
ssh-keygen -t ed25519 -a 100 -C "[email protected]"
The command asks for a file path and an optional passphrase. A passphrase adds a layer if the private key is stolen. If RSA is required, use -t rsa -b 4096; prefer Ed25519 on new setups. Official docs are collected on the OpenSSH manuals page.
cat ~/.ssh/id_ed25519.pubmkdir -p ~/.ssh && chmod 700 ~/.ssh~/.ssh/authorized_keys; file mode 600, directory 700.ssh user@server. A passphrase may be asked; a password should not.ssh-copy-id user@server automates the same step when the tool is installed.
If several people connect to the same server account, give each person their own key; do not share one private key. When someone leaves, delete only that line from authorized_keys. A shared "company key" makes both leaks and revocation harder.
Generating separate keys for laptop, desktop and CI/CD is also good practice. Bind the CI key to a user limited to the commands it needs. Do not give root on an agent or deploy user.
Store the key passphrase in a password manager. ssh-agent keeps an unlocked key in memory for the session; clear the agent when you leave the machine locked.
The ~/.ssh directory must be 700 and authorized_keys 600. More open modes can make OpenSSH ignore the key. A home directory writable by others causes similar failures.
On Windows clients use the OpenSSH Client feature or a compatible client; the public key must stay on one line without a broken line ending. When adding several keys, put one public key per line.
After the key works, keep a second session open before you disable password login so you do not lock yourself out. Keep the VPS provider console as a backup access path.
Rotate keys when an employee leaves or a laptop is retired. Remove the old line from authorized_keys and add the new public key. Treat SSH keys like passwords that never travel in clear text.
Prefer Ed25519 on new installs. Older systems may require RSA-4096; ssh-keygen can create both.
No, but it is recommended. ssh-agent can unlock the key for a session.
In the home directory of the user you connect as: ~/.ssh/authorized_keys. For root: /root/.ssh/authorized_keys.
Use console or alternate access to add a new public key or temporarily re-enable password login. Keep a secure backup of the private key.
 Copyright © 2026 All Rights Reserved

 Turkey (Türkçe)
 Worldwide (English)